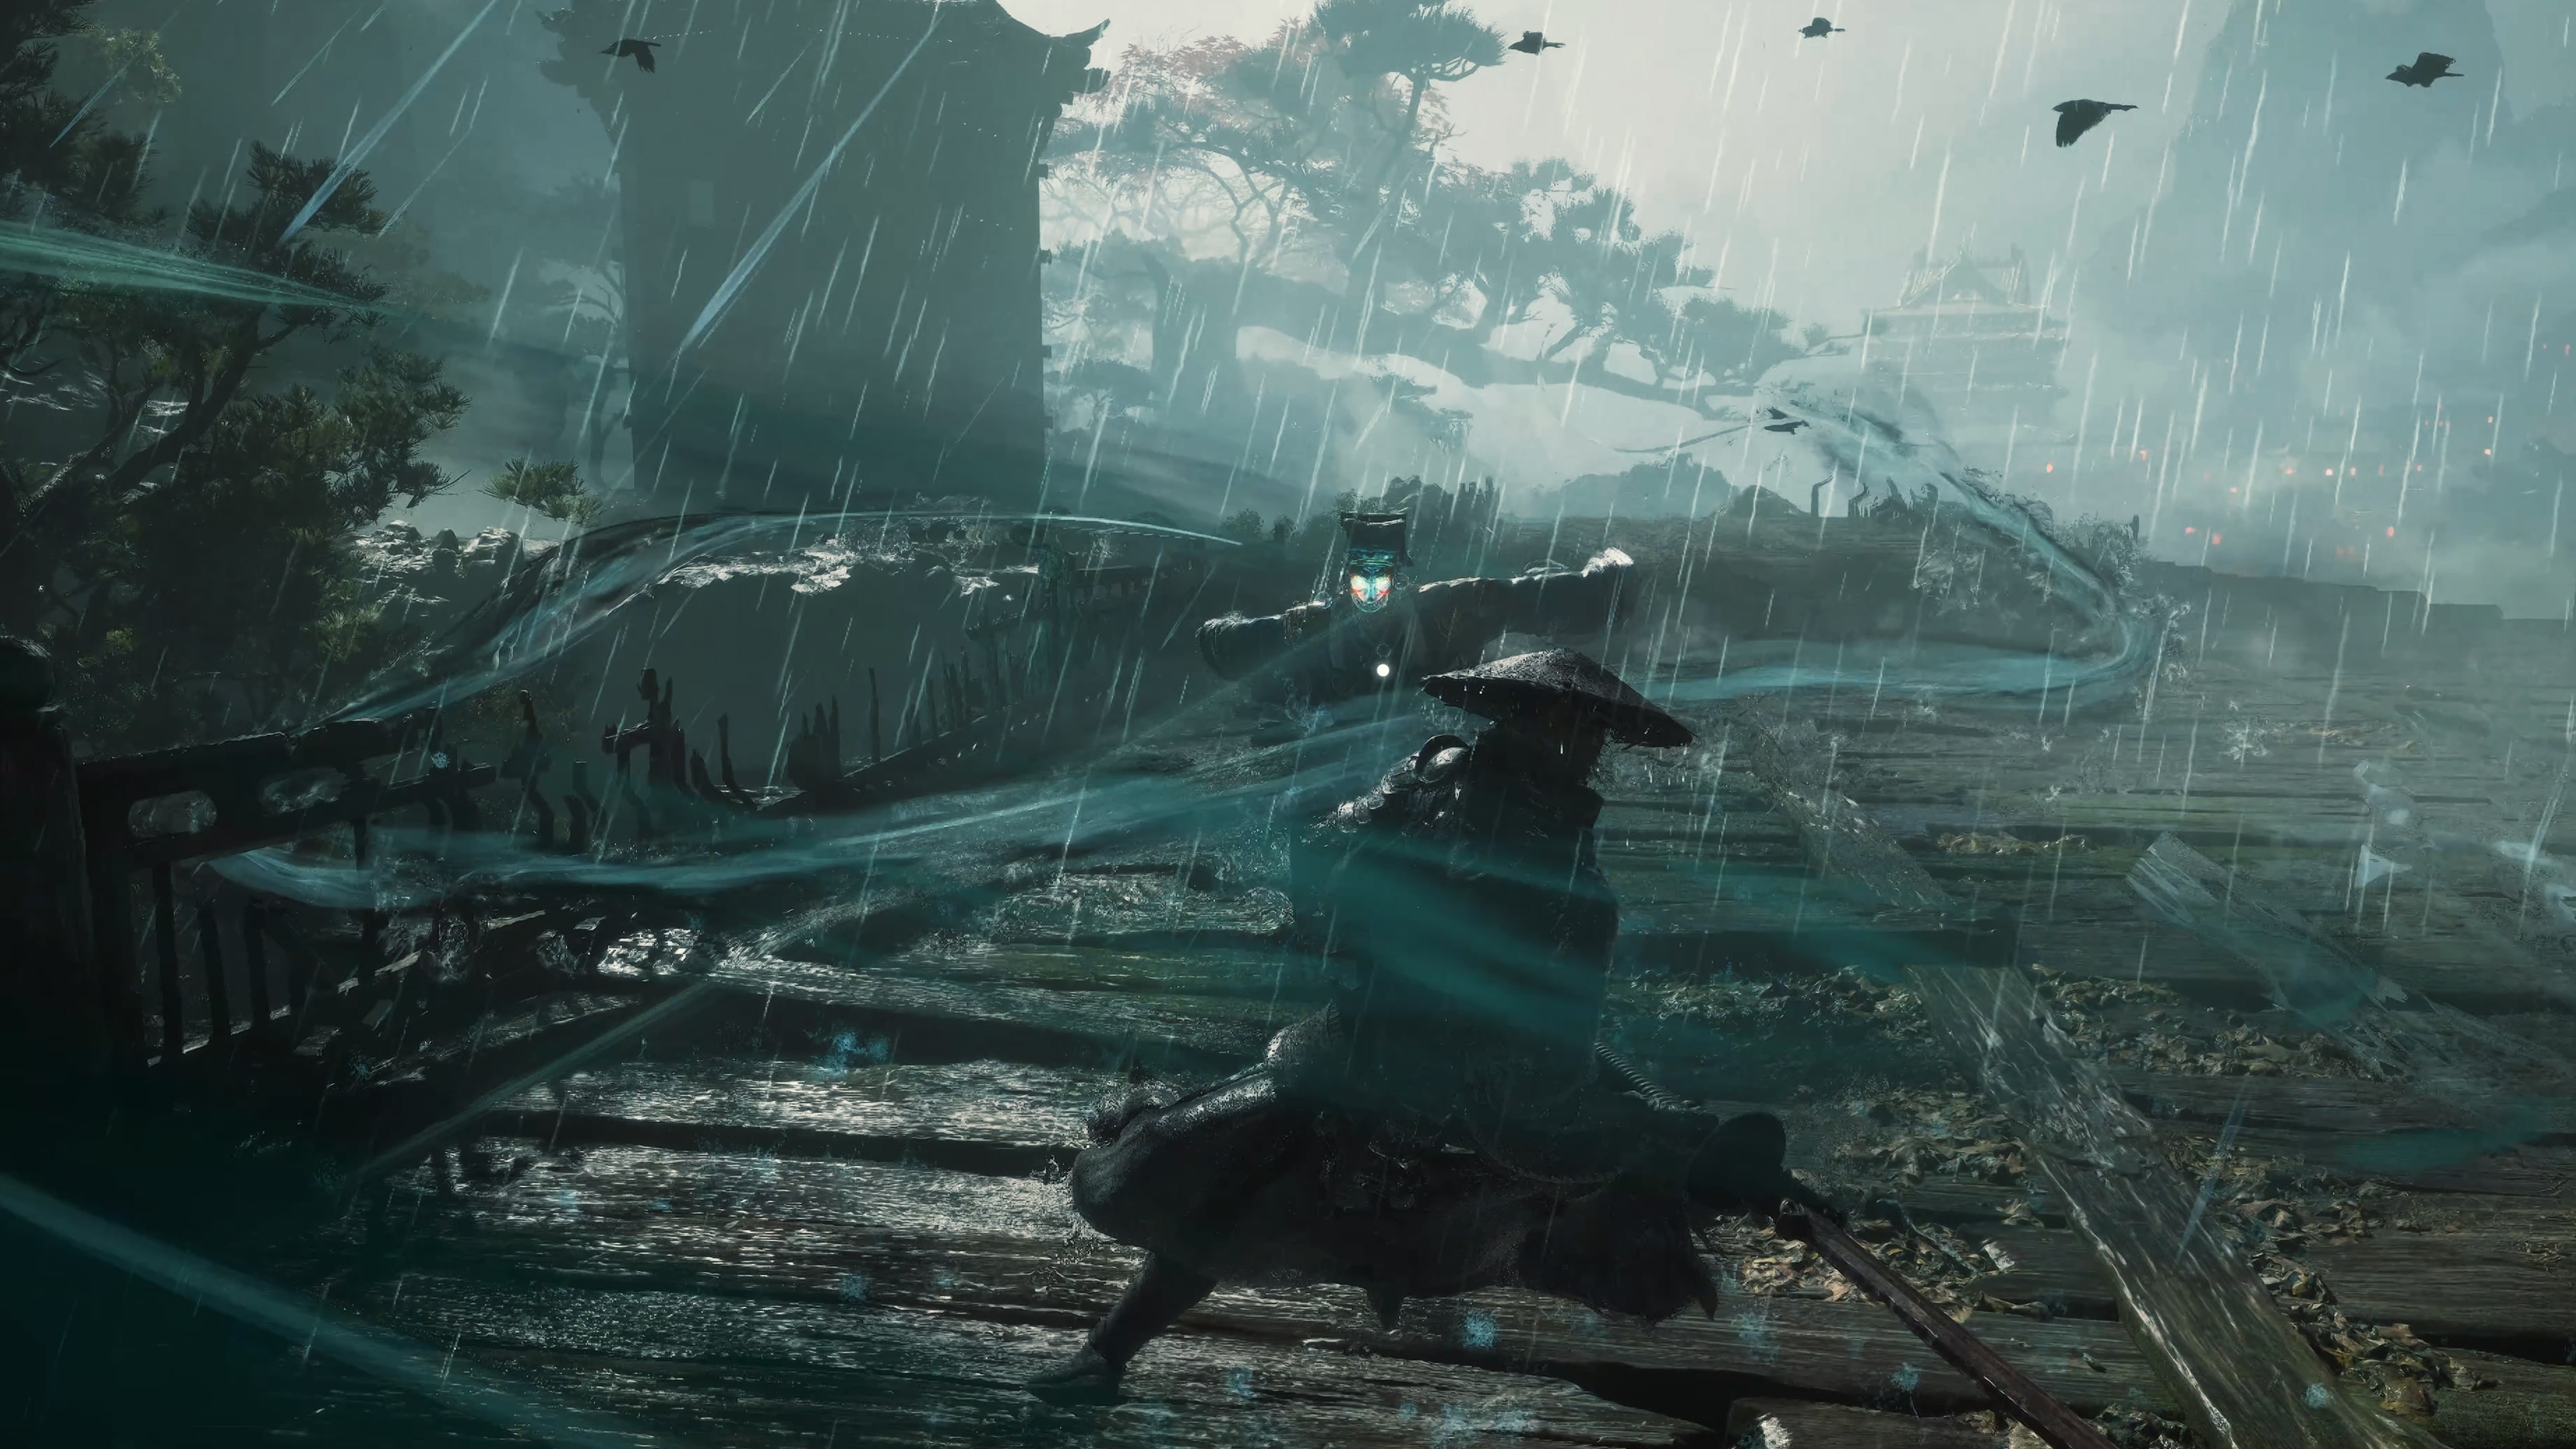
Phantom Blade Zero parry or dodge comes down to one thing: the color on the enemy's attack. A blue flash has to be parried and a red flash has to be dodged through at the last moment; guard does nothing against a red attack at all. Anything with no color is a normal attack, and normal attacks are best handled with block, a regular dodge or simply spacing.
On this page
The Phantom Blade Zero parry or dodge decision table
| The attack flashes | What it is | The answer |
|---|---|---|
Blue | Brutal Move | Parry it at the moment of impact |
Red | Killer Move | Dodge through it at the last moment; it cannot be blocked or parried |
Nothing | Normal attack | Block it, dodge it or leave the range |
The same rule applies inside boss fights, and it is stated per attack rather than per enemy. That matters more than it sounds: two attacks from the same boss can require different answers, so the flash is the only thing worth reading.
Blue means parry
A blue-flashed Brutal Move is a high-tier attack that you cannot tank through with held guard. A successful parry costs no Sha Chi, restores your own, drains the enemy's and repositions you behind them. Holding L1 — Q on PC — through one instead burns a large chunk of Sha Chi and can break your guard outright, which is why a held block through a Brutal Move is the most common way to lose a fight.
Block is still correct for uncolored attacks, and holding guard is the reliable way to learn an enemy's rhythm before you attempt precision timing. Getting the timing itself right is covered on how the parry input works.
Red means dodge
A red-flashed Killer Move is unblockable and unparryable. Guard does nothing against it, so the only answer is to dodge through it at the last moment — and doing it correctly triggers Ghostep in exactly the same way a successful parry does. What that counterattack gives you covers the payoff.
Dodging a normal attack is also legal but wasteful. It spends Sha Chi for no defensive gain, so the correct habit is to hold block for uncolored attacks and reserve the dodge for the red ones.
Reading the cue, not the animation
Many weapon clashes in the fight animations are offence-and-defence set pieces rather than incoming hits. With slow weapons in particular, it is the flash cue and not every flourish of movement that should be answered. If you find yourself dodging an attack that never damaged you, you were reading the animation instead of the color.
Worked example: the Seven Judgments
The same three answers show up inside a boss fight without changing:
- The attack where Decree orders the formation to lift him can be parried but cannot be blocked.
- The group attack he commands from a distance cannot be blocked or parried and must be dodged.
- In phase two, the dozens of red threads released at long range can only be dodged.
- The puppet's flying thrust cannot be blocked and must be dodged or parried.
One telegraphed move with one answer is the design goal — what looks like four separate pressures is meant to be read cue by cue. The full Seven Judgments breakdown walks both phases attack by attack.
What a correct read pays
Both answers end the same way: Ghostep, a large Sha Chi refund and a position behind the enemy. That is the intended loop — defend correctly, take the refund, cash the opening. What Ghostep gives you and how it charges covers the payoff.